
7 Tips for Choosing a Vibration Measuring Device
Choosing a Vibration Measuring Device is not simply a matter of picking the model with the most features. The right instrument should match the machine, measurement task, and conditions where readings will be taken. A handheld meter used beside a pump has different needs from a sensor mounted on a motor for continuous monitoring. Small details matter. Sensor range, frequency response, mounting method, and data storage can all affect what a reading tells you. A precise number is useful only when it reflects the machine’s actual behavior.
This guide explores seven practical points to consider, from measurement range and accuracy to usability, durability, and software compatibility. Think about where measurements will happen: a clean workshop, a warm production floor, or a cramped area near rotating equipment. Check whether the device measures acceleration, velocity, displacement, or the specific values your maintenance process requires. Also consider who will use it and how results will be recorded or compared over time. Simple to overlook. A low-cost device may suit occasional checks, while routine diagnostics may call for better repeatability and clearer trend data. Specifications deserve scrutiny, but they do not tell the whole story; handling and setup can change results. There is no perfect choice for every site. The aim is a reliable fit for your machines, people, and measurement goals.
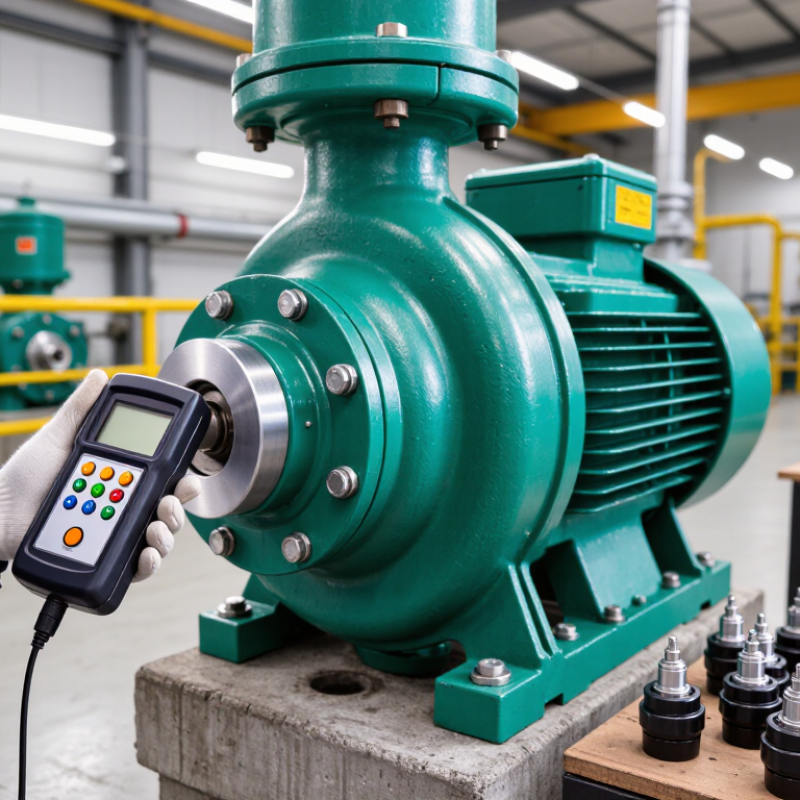
Understanding What a Vibration Measuring Device Measures
A vibration measuring device records how a machine or structure moves over time. It may report acceleration, velocity, or displacement. Acceleration shows how quickly motion changes, while velocity describes movement speed. Displacement indicates how far an object moves from its resting position. These values are related, but they are not interchangeable. A reading of 5 mm/s, for example, means something different from 5 m/s².
Frequency matters too. Measured in hertz, it tells you how often a vibration repeats each second. A low-frequency wobble may point to imbalance, while a higher-frequency signal can reveal bearing or gear issues. But frequency alone rarely identifies a cause. Look at the measurement units, range, and whether the device reports peak, peak-to-peak, or RMS values. Small details change interpretation.
The measurement also depends on where and how the sensor is placed. A sensor held loosely against a motor housing may give unstable results. Mount it firmly, use the same location for repeat checks, and note the machine’s operating speed and load. Compare readings under similar conditions. One number is not a diagnosis. Even careful measurements can miss a problem if the chosen axis or frequency range is unsuitable, so question the setup before trusting a surprising result.
Defining Measurement Goals and Operating Conditions
Tip: Define the decision before choosing a device. Are you checking overall machine health, locating a bearing fault, or comparing vibration before and after maintenance? Each goal calls for different measurements. Overall velocity may suit a broad condition check, while acceleration and higher frequency coverage can help reveal early bearing impacts. Set the required frequency range and measurement units in advance. Small detail, big difference.
Tip: Match the device to the operating conditions. A reading from a warm motor at steady speed may not represent a cold start or changing load. Note shaft speed, load, temperature, access, and whether the machine runs continuously. Check that the sensor and mounting method fit the surface and environment. A loose magnetic mount can distort high-frequency readings; a fixed stud often provides better coupling, when installation is practical.
Tip: Plan how readings will be repeated. Mark measurement points, sensor direction, and operating state, then record them with each result. This makes trends more useful than isolated numbers. Check whether the device can capture the needed frequency range and store data in a format your team can review. Don’t over-specify by habit. I’ve seen plans focus on impressive resolution while overlooking repeatable sensor placement. That’s worth reconsidering.
Comparing Sensor Types and Measurement Methods
Choosing a vibration measuring device begins with the motion you need to capture. An accelerometer measures acceleration and works well for many machine-condition checks. It can reveal bearing or gear activity, especially at higher frequencies. A velocity sensor is useful for assessing overall vibration on rotating equipment. Displacement probes measure shaft movement directly, often without touching it. Fit matters.
Sensor types differ in mounting, frequency response, and sensitivity to surface conditions. A stud-mounted accelerometer gives firm contact, while a magnetic base is quicker for temporary checks. But a loose mount can distort readings. Displacement probes need careful alignment and a stable target surface. That distinction matters when comparing readings across visits.
Measurement methods shape the result, too. A handheld meter gives a quick overall value, while a data collector can record readings at set locations. Spectrum analysis helps identify frequency patterns; time waveforms show changes over time, such as impacts. Continuous monitoring can catch sudden shifts, but it creates more data to review. The boundary is not always neat: mixed machine speeds can complicate comparisons. Match the method to the machine, the fault you suspect, and how often you can measure it. A practical choice may still need adjustment after the first readings.
Checking Range, Accuracy, and Data Features
A vibration meter is useful only when its range fits the machine and the fault you expect to detect. Check whether it measures acceleration, velocity, and displacement, and confirm its frequency response covers both slow imbalance and higher-frequency bearing signals. Leave headroom above normal readings; a sensor that clips during a brief spike can hide the event. Small details matter.
Accuracy should include the sensor, measurement electronics, and calibration status—not just the figure on the instrument’s brochure. ISO 20816-1:2016 explains that vibration assessment depends on machine type, measurement position, and operating conditions, so one alarm limit will not suit every asset. The U.S. Department of Energy’s Operations & Maintenance Best Practices guide reports potential predictive-maintenance savings of 8–12% over preventive maintenance and 30–40% over reactive maintenance. These are reported estimates, not guaranteed results; poor measurement choices can weaken the case.
For data features, look for stored waveforms, FFT spectra, timestamps, and repeatable route records. These help compare readings at the same bearing location and operating speed, rather than relying on a single overall value. Check export options and whether the device preserves units and measurement settings. I still find data overload easy to create: more plots do not automatically mean clearer diagnosis. A practical trial on one motor can reveal whether readings are repeatable before expanding the program.
7 Tips for Choosing a Vibration Measuring Device
Check Range, Accuracy, and Data Features
This idealized waveform represents a 100 Hz sinusoidal vibration with a velocity of 2.0 mm/s RMS and 2.83 mm/s peak. It is a simulated example, not a field measurement. When selecting a device, check that its measurement range and frequency response suit the application, verify accuracy and resolution, and consider sampling rate, sensor mounting, data storage, and export features.
Assessing Usability, Calibration, and Long-Term Support
A vibration measuring device should fit the work, not just the specification sheet. Check whether its screen remains readable under workshop lighting and whether the controls make sense with gloves on. Can a technician save a reading beside the machine’s location, operating speed, and date? Small annoyances add up. A menu that takes several taps may discourage consistent measurements, especially during a busy inspection round.
Calibration deserves the same practical attention. Ask for a traceable calibration certificate and clear guidance on recalibration intervals. The right interval depends on use, handling, and your quality procedures; there is no universal schedule. A certificate is not magic. Confirm that the device supports your sensor type and measurement range, and learn how sensor mounting affects repeatability. Comparing readings on a known machine can reveal problems, though it does not replace proper calibration.
Long-term support matters after the purchase order is forgotten. Check whether replacement cables, sensors, and batteries will remain available, and ask how repairs are handled. Data export is worth testing before adoption: open a sample file and see whether units, timestamps, and machine labels stay intact. Response times can vary, so ask what technical help includes and whether software updates affect older devices. One detail is easy to overlook: record these answers, not just the quoted price.
7 Tips for Choosing a Vibration Measuring Device — Assessing Usability, Calibration, and Long-Term Support
| Tip | What to assess | Practical check | Why it matters | Long-term evidence to look for |
|---|---|---|---|---|
| 1. Match the device to the measurement task | Confirm that the instrument measures the required vibration quantity, such as acceleration, velocity, or displacement, and supports the necessary frequency range and units. | Compare the device specifications with the machine, measurement method, and applicable procedure. Check whether it reports RMS, peak, or peak-to-peak values as needed. | Different quantities and frequency ranges suit different applications; a device outside the required range may produce results that are unsuitable for the task. | Check that specifications and measurement modes are documented and that firmware or software updates do not remove required functionality. |
| 2. Test everyday usability | Assess menu clarity, display readability, physical controls, measurement setup, and how easily users can identify units and settings. | Have intended users complete a representative measurement without coaching. Verify that they can select the correct mode, save a reading, and retrieve it. | Clear operation helps reduce setup mistakes and makes measurements more consistent across users and shifts. | Look for accessible operating instructions, training materials, and a defined process for onboarding new users. |
| 3. Check sensor and mounting options | Review sensor type, cable or wireless connection, mounting accessories, and whether the sensor is suitable for the measurement location. | Confirm that the sensor can be attached securely and repeatably. For accelerometers, consider how mounting method and surface condition can affect high-frequency response. | Loose or inconsistent mounting can alter readings, particularly at higher frequencies, and can make comparisons less reliable. | Confirm that replacement sensors, cables, connectors, and mounting accessories can be obtained and are compatible with the device. |
| 4. Review calibration and traceability | Ask what calibration is supplied, which measurement functions are covered, and whether results are traceable to recognized national or international measurement standards. | Inspect a sample calibration certificate for the instrument or sensor. Check its identification, calibration date, measured points, results, and stated uncertainty where applicable. | Calibration records help establish measurement confidence. Traceability alone does not mean a calibration was performed by an accredited laboratory. | Check whether calibration services are available, whether accredited calibration is offered when required, and how certificates and records are retained. |
| 5. Plan a sensible recalibration schedule | Consider the manufacturer’s guidance, usage frequency, operating environment, handling history, and the consequences of inaccurate results. | Set the interval through a documented process based on applicable requirements and experience. Review it after damage, unusual results, or significant changes in use. | There is no single recalibration interval suitable for every device and application; an interval should reflect risk and measurement needs. | Ask about calibration turnaround time, service documentation, and procedures for handling devices that fail calibration. |
| 6. Check data handling and reporting | Assess storage capacity, export formats, software compatibility, time stamps, measurement labels, and the ability to preserve units and settings with results. | Perform a trial export and confirm that readings can be transferred, reviewed, and backed up using the organization’s existing workflow. | Consistent records make it easier to compare measurements over time and support maintenance decisions and audits. | Review software support terms, file-format accessibility, update policies, and options for exporting data if software support changes. |
| 7. Evaluate support and total ownership needs | Consider warranty terms, repair options, technical support, spare-part availability, battery requirements, and expected service life. | Request clear information on service routes, typical repair and calibration turnaround, warranty coverage, and the availability of manuals and parts. | A device is only useful over time if it can be maintained, repaired, calibrated, and used reliably in its operating environment. | Compare documented service commitments and lifecycle costs, including calibration, accessories, software, repairs, and eventual replacement. |
