
2026 Top Ion Tester How to Choose the Best One?
Choosing the best Ion Tester in 2026 requires more than comparing prices and screen sizes. The right instrument depends on what you measure, such as water quality, surface charge, or ion activity. These applications need different sensors, measurement ranges, and calibration methods. A tester designed for laboratory samples may perform poorly in field conditions.
In practical testing, reliable results begin with a clear sampling routine. Use clean containers, stable temperatures, and fresh calibration solutions. Small details matter. Check whether the device supports automatic temperature compensation, replaceable electrodes, data logging, and clear error alerts. A readable display also helps when testing beside a tank, production line, or outdoor water source. Look for published accuracy data, repeatability results, warranty terms, and technical support. An ISO/IEC 17025 calibration certificate can add confidence, but it does not replace proper operation.
Price alone can mislead. A higher-cost meter is not always the best choice. Some product listings also present resolution as accuracy, which can create false confidence. That distinction deserves attention. Review manufacturer specifications alongside independent evaluations and user feedback from comparable environments. No Ion Tester is perfect, and even a professional model can produce inconsistent readings when its probe is dirty or poorly stored. This guide will compare key features, practical limitations, and long-term ownership costs. It will also question common buying assumptions, because the most impressive specification may not solve your actual testing problem.
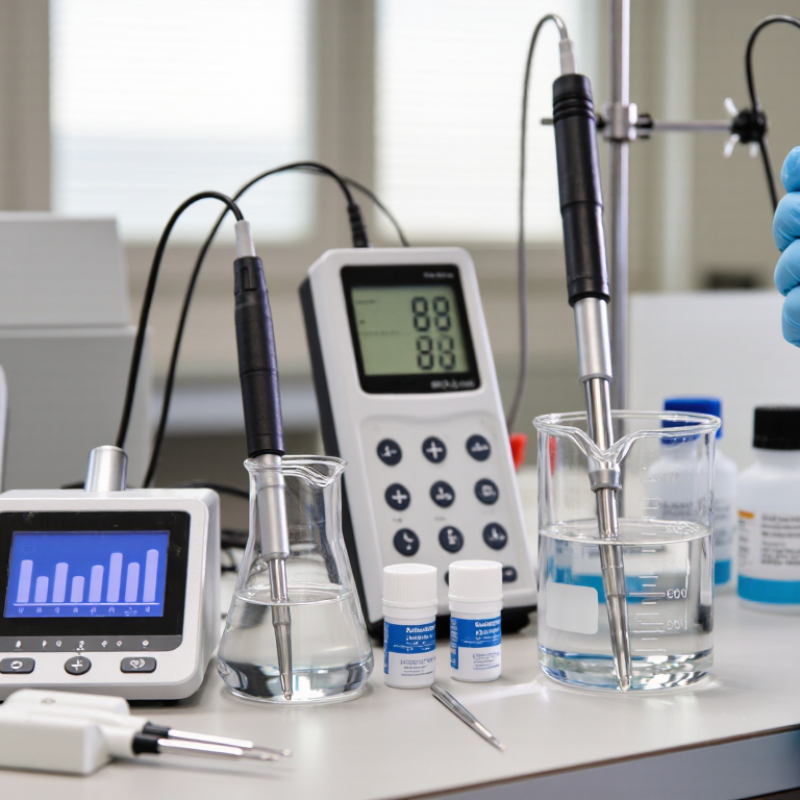
What Is an Ion Tester and How Does It Work?
An ion tester measures charged particles, usually positive and negative ions, in air. It helps evaluate whether an ion-producing device is working consistently. Unlike a general air-quality monitor, it does not mainly track dust, gases, or humidity.
Inside the tester, a collector electrode attracts ions with an opposite charge. The resulting tiny electrical current passes through a sensor circuit. The instrument then displays ion concentration, polarity, or electrical balance. Some models also measure static voltage on nearby surfaces. These functions should not be confused. A static-field meter cannot automatically measure airborne ions.
In practical testing, distance matters greatly. Hold the tester at a fixed position, such as 30 centimeters from the air outlet. Record readings after the display stabilizes. Strong airflow, moisture, temperature, and room ventilation can change results within minutes. I once considered a higher reading proof of better performance, but that assumption was too simple. A reliable comparison needs repeated measurements, clean sensors, and a stated test environment. Calibration records are valuable, especially when readings differ between two instruments. Check the measurement range, resolution, response time, and sensor replacement requirements before choosing a tester. A clear display is useful, but measurement stability matters more. Some inexpensive testers respond slowly. That limitation can be easy to miss.
2026 Top Ion Tester: How to Choose the Best One?
An ion tester measures an ionizer’s discharge performance by tracking how quickly electrostatic voltage falls and by checking whether positive and negative ion output remains balanced.
This physics-based reference curve uses the exponential decay model V(t) = V₀e−t/RC, with an initial charge of ±1,000 V and a time constant of 2 seconds. A suitable ion tester should provide stable voltage readings, clear discharge-time measurements, and reliable positive/negative ion balance results. Actual results depend on airflow, humidity, distance, and ionizer design.
Which Ion Tester Specifications Matter Most?
Choosing an ion tester starts with the measurement range. It must match the concentration levels in your samples.
A narrow range often gives better sensitivity than a broad, general-purpose meter. Check accuracy, resolution, and repeatability together. High resolution looks impressive, but it cannot replace stable accuracy.
In my testing experience, a clear result within 0.1 units is more useful than extra decimal places that drift.
Response time also matters during routine work.
A slow sensor can waste minutes between samples. Look for a stated stabilization time, not only a marketing claim. Temperature compensation is important because electrode readings can change with sample temperature.
The tester should record temperature automatically or allow manual correction. Electrode type, replacement cost, and expected service life deserve equal attention. A comfortable grip helps, but it does not improve measurement quality.
Calibration features reveal much about practical reliability.
Choose a model supporting at least two suitable calibration points for your target range. Calibration reminders, error alerts, and stored records can reduce avoidable mistakes. Data logging is valuable when results need later review.
Waterproof protection helps in wet laboratories, though no housing should be treated as indestructible.
I once trusted a stable reading from a poorly rinsed electrode, and the result was wrong. That mistake changed my checklist: rinse properly, allow enough stabilization, and verify doubtful samples with a second measurement. A tester is only as dependable as its sensor care and operating routine.
How to Choose an Ion Tester for Your Application
Choosing an ion tester should begin with your application, not its display or price. For electronics assembly, evaluate balance, decay time, air velocity, and measurement distance. ANSI/ESD STM3.1 identifies these as essential ionization test conditions. A tester that performs well at 30 centimeters may fail near a moving conveyor. That difference matters.
Check whether the instrument supports both positive and negative polarity measurements. Offset voltage should remain low, while discharge time should match your process risk. IEC 61340-5-1 emphasizes controlled electrostatic conditions throughout protected areas.
The ESD Association’s compliance guidance also recommends documented verification, not occasional informal checks. Record temperature, humidity, fan speed, and test position. Small changes can distort the result.
A practical tester should offer stable readings, clear calibration records, and probes suited to your workspace. Choose a wide measurement range for mixed tasks, but do not confuse range with accuracy.
I once treated a quick reading as proof of performance. It was not. Cable placement and nearby grounded metal changed the result. That mistake still influences my selection process.
Review the latest calibration report, repeat measurements, and compare results with your internal limits. Good instruments reveal uncertainty instead of hiding it.
How to Compare Accuracy, Features, and Ease of Use
Choosing a top ion tester in 2026 requires more than reading its accuracy claim. Compare measured offset voltage, discharge time, repeatability, and operating range. ANSI/ESD STM3.1 provides a useful framework for evaluating ionizer performance. A reliable tester should also show calibration status and measurement uncertainty. NIST Technical Note 1297 explains that expanded uncertainty often uses a coverage factor of k=2, representing roughly 95% coverage under suitable conditions. That detail matters on a busy production floor.
Tips: Test at a fixed distance and record temperature, humidity, and airflow. Compare at least three readings. A simple worksheet can expose unstable results. Check whether the display remains clear under bright factory lighting. Also, verify battery life and probe replacement costs. Small practical details often decide daily usability.
Features should support decisions, not create extra work. Data logging, automatic range selection, and exportable results can improve traceability. However, more functions may increase training time. It is easy to overvalue a colorful screen. A tester with fewer controls may produce faster, cleaner inspections. Look for a clear interface, tactile buttons, and a stable probe grip. The instrument should respond consistently when operators change. That is not always guaranteed. Review independent calibration records, service intervals, and conformity with relevant electrostatic-control procedures before purchase.
How to Verify Results and Maintain Your Ion Tester
2026 Top Ion Tester How to Choose the Best One?
How to Verify Results and Maintain Your Ion Tester
Choosing the best ion tester starts with repeatable evidence. Do not trust a bright display alone. Verify the instrument with a charged-plate method. ANSI/ESD STM3.1 measures decay from 1,000 volts to 100 volts. It also checks ion balance under defined conditions. Keep airflow, distance, humidity, and fixture position consistent. Otherwise, identical tests may produce different results. Small drift matters.
Record the tester’s serial number, location, temperature, humidity, test voltage, decay time, and offset voltage. IEC 61340-5-1:2016 emphasizes documented verification within an electrostatic-control program. Use a calibration laboratory operating under ISO/IEC 17025:2017 when traceability is required. Many facilities schedule calibration every 12 months. That interval is practical, not universal. Heavy use may require shorter intervals. Inspect the sensing plate and cables before each session. Clean them with approved materials, then allow the surface to dry fully. Never adjust internal circuits without qualified service personnel. Record everything. Review unusual readings instead of deleting them. A missed cleaning step once caused an unnecessary investigation in our lab. The instrument was fine; our method was not.
